01
Create a project
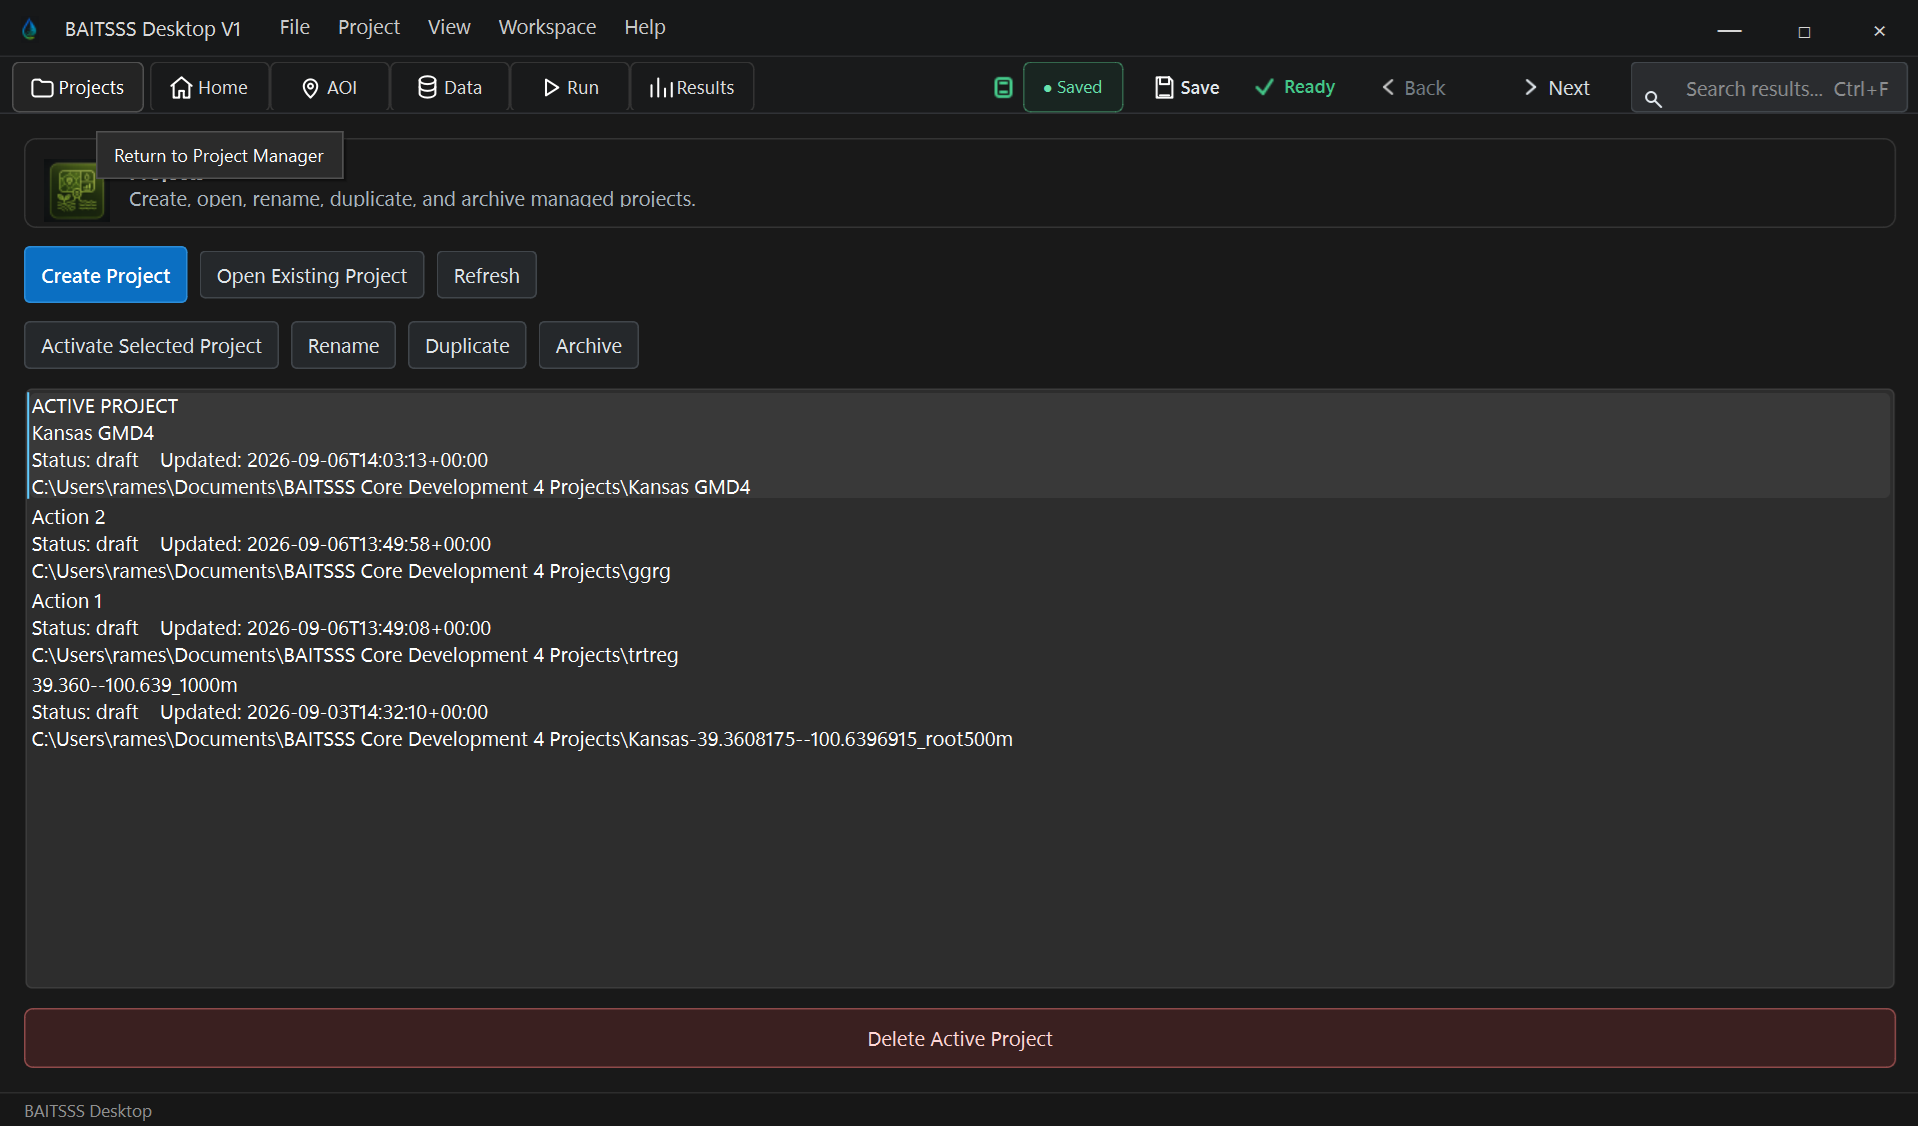
Open BAITSSS and create a new project. Give the project a clear name that identifies the field or study.
Check: the new project opens with its own project state rather than information from another project.
 BAITSSS
This example follows the standard BAITSSS Desktop workflow for an irrigated field. It is a workflow tutorial, not a benchmark dataset or a claim that one configuration represents every field.
Use a field for which the project period is covered by the supported Landsat and NLDAS data path. BAITSSS already uses its registered base layers for land cover, elevation, Soil Field Capacity, and Soil Available Water Capacity.
Open BAITSSS and create a new project. Give the project a clear name that identifies the field or study.
Check: the new project opens with its own project state rather than information from another project.
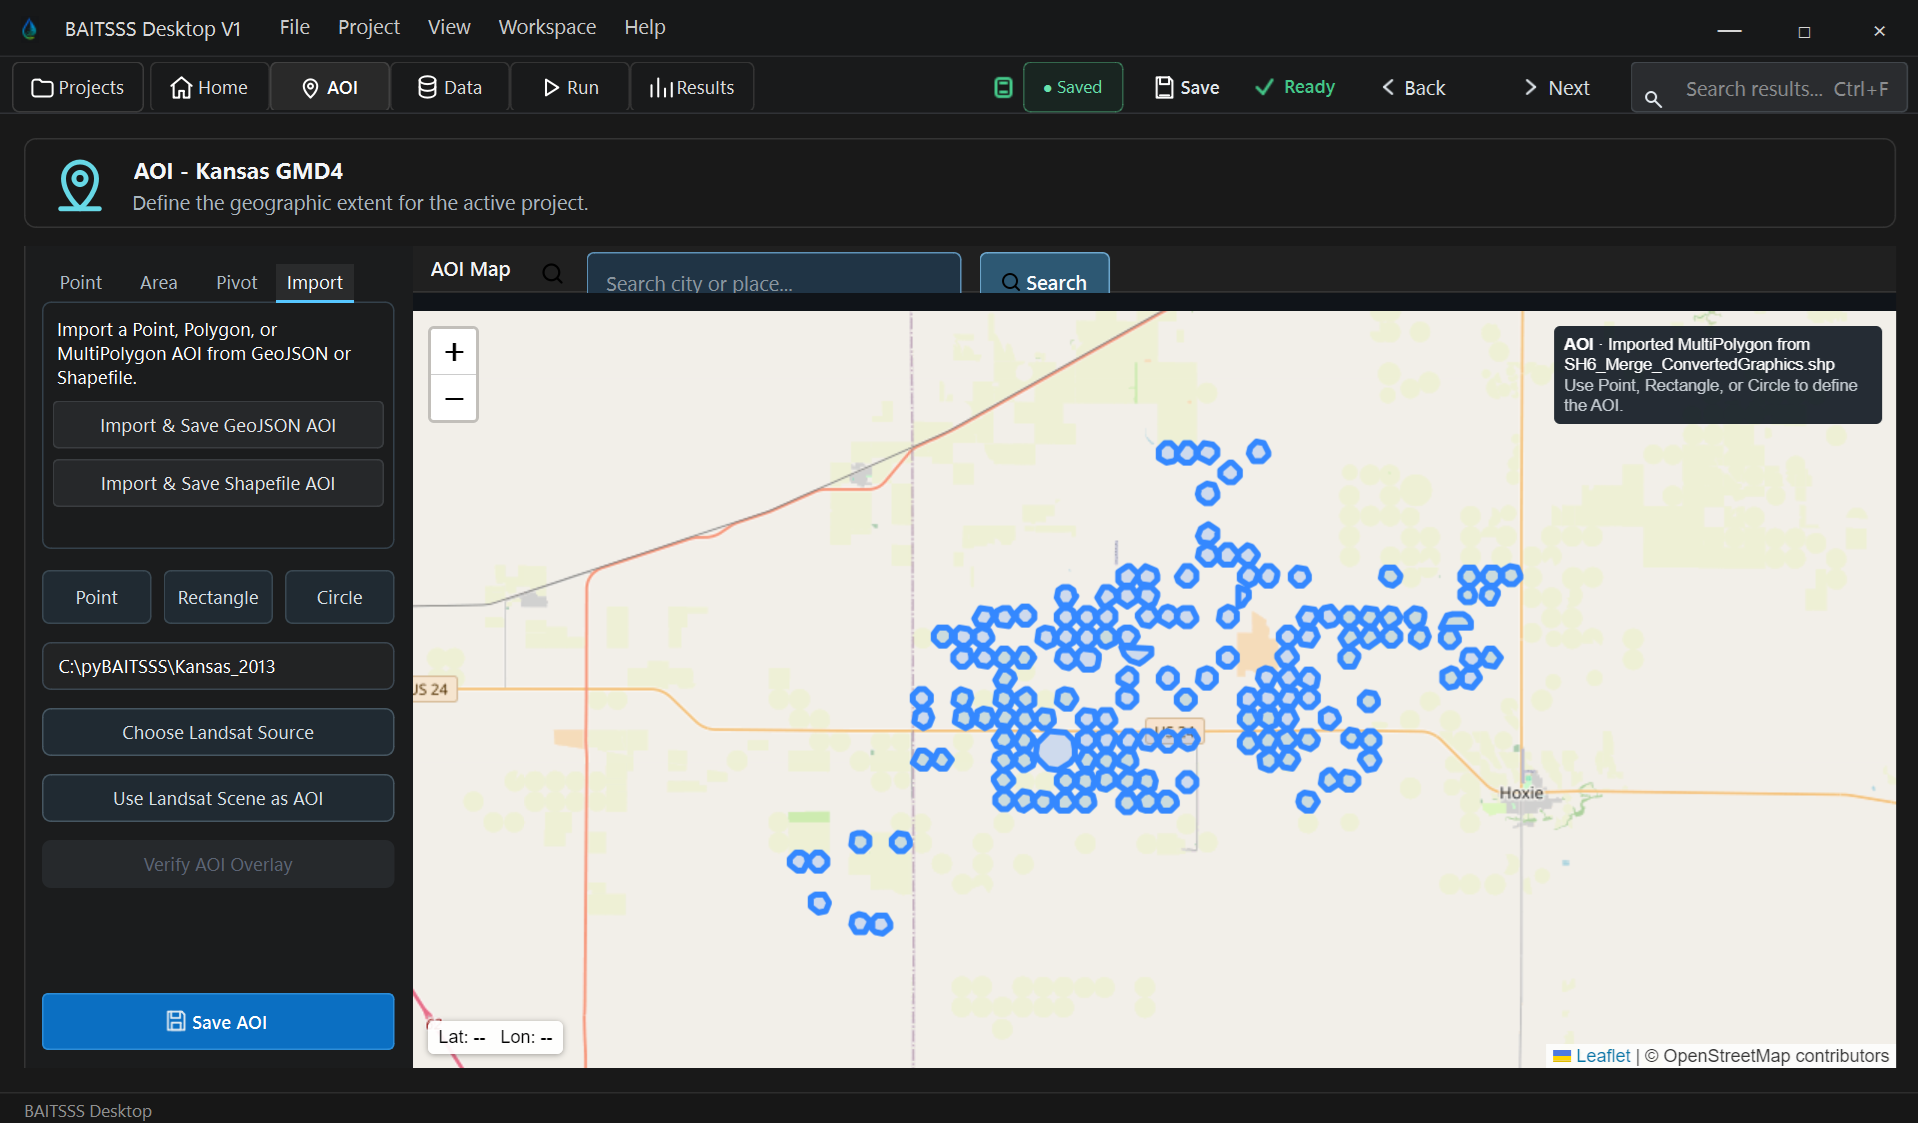
Use the AOI Viewer to locate the field and define or import the Area of Interest. Review the saved AOI against the available base information.
Check: the AOI covers only the intended field or study area.
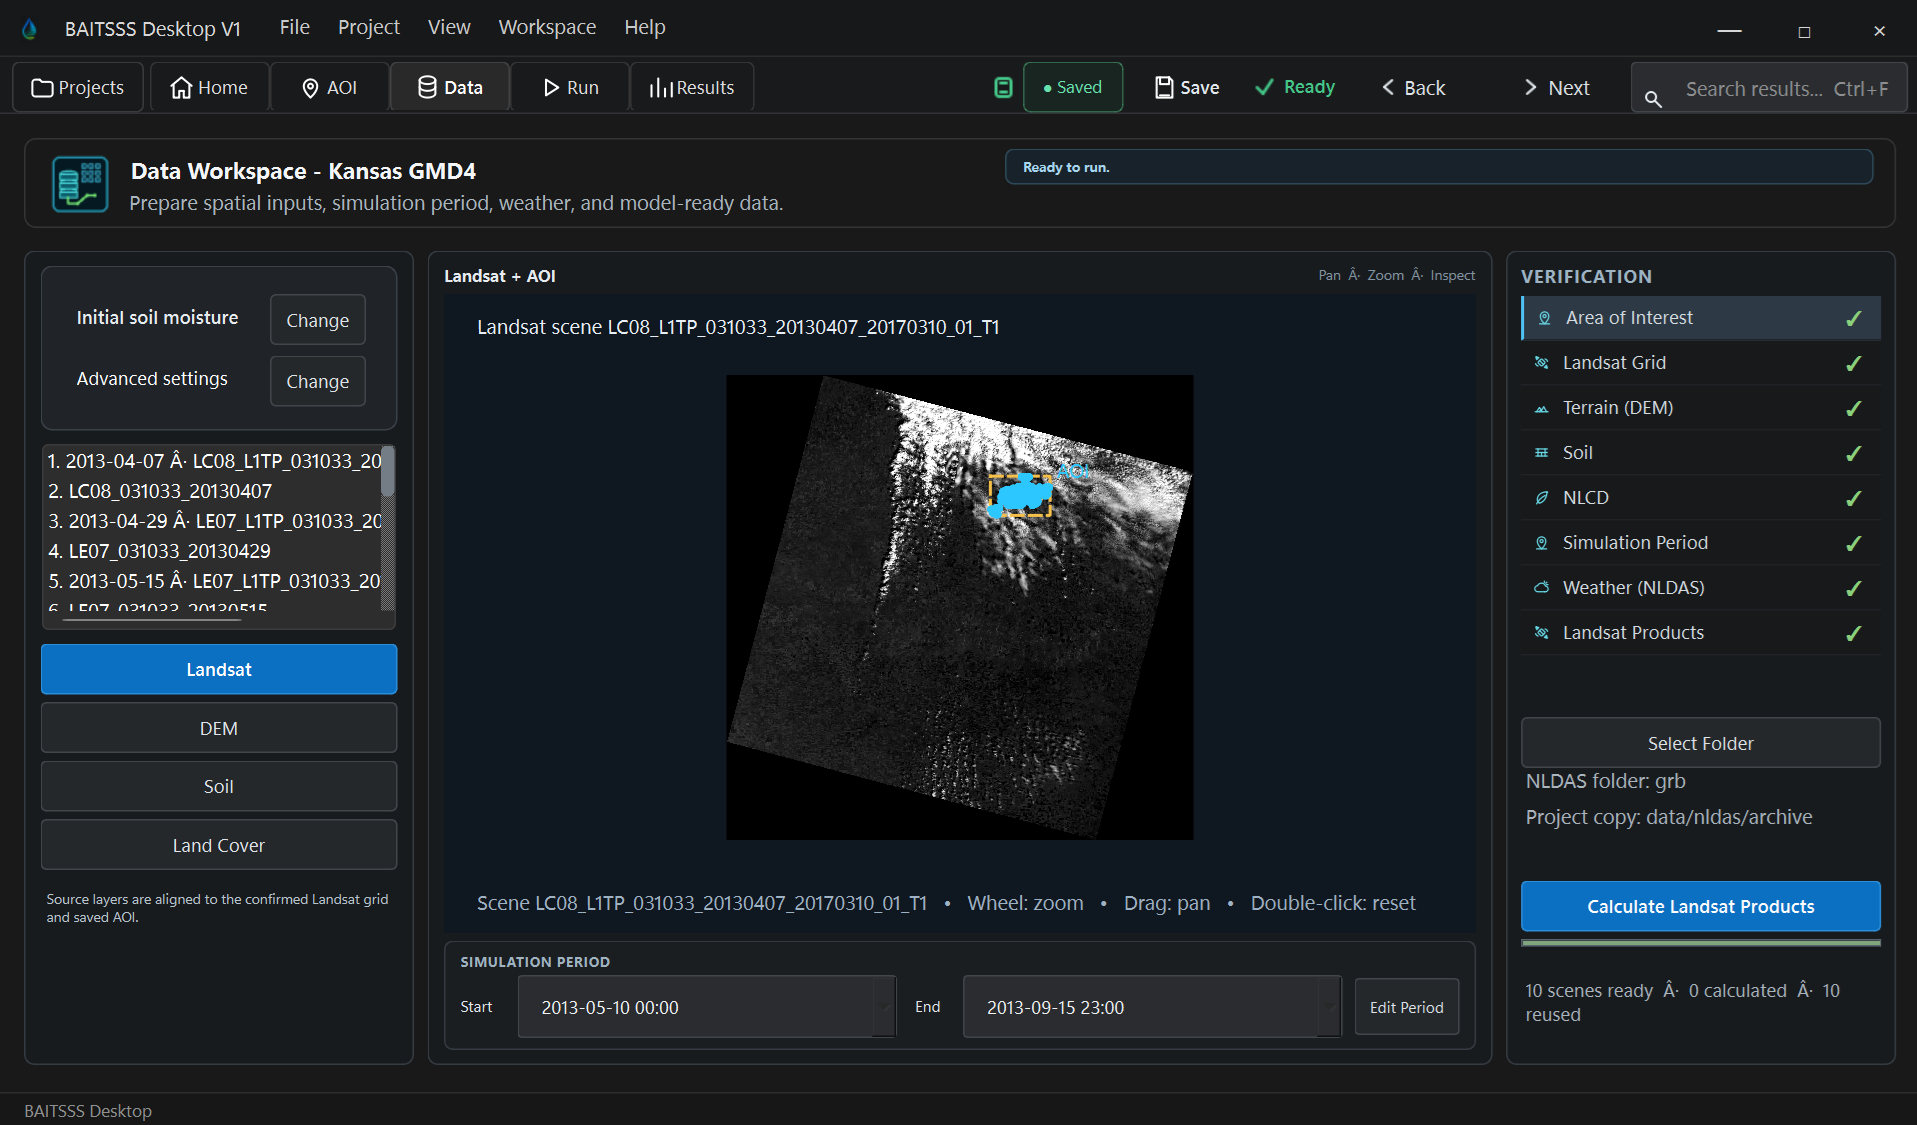
Select the start and end dates for the season or study period you want to simulate.
Check: the selected period matches the scientific question you intend to evaluate.
Use File → Import → Landsat and File → Import → NLDAS. Review the registered archive and use Download Missing when required data are not yet present.
Check: data readiness is complete for the selected period before running the model.
Review the field settings relevant to the study, including irrigation controls, Management Allowed Depletion, rooting depth, and initial soil moisture condition where applicable.
Check: record any values you changed from the project defaults so the run can be interpreted later.
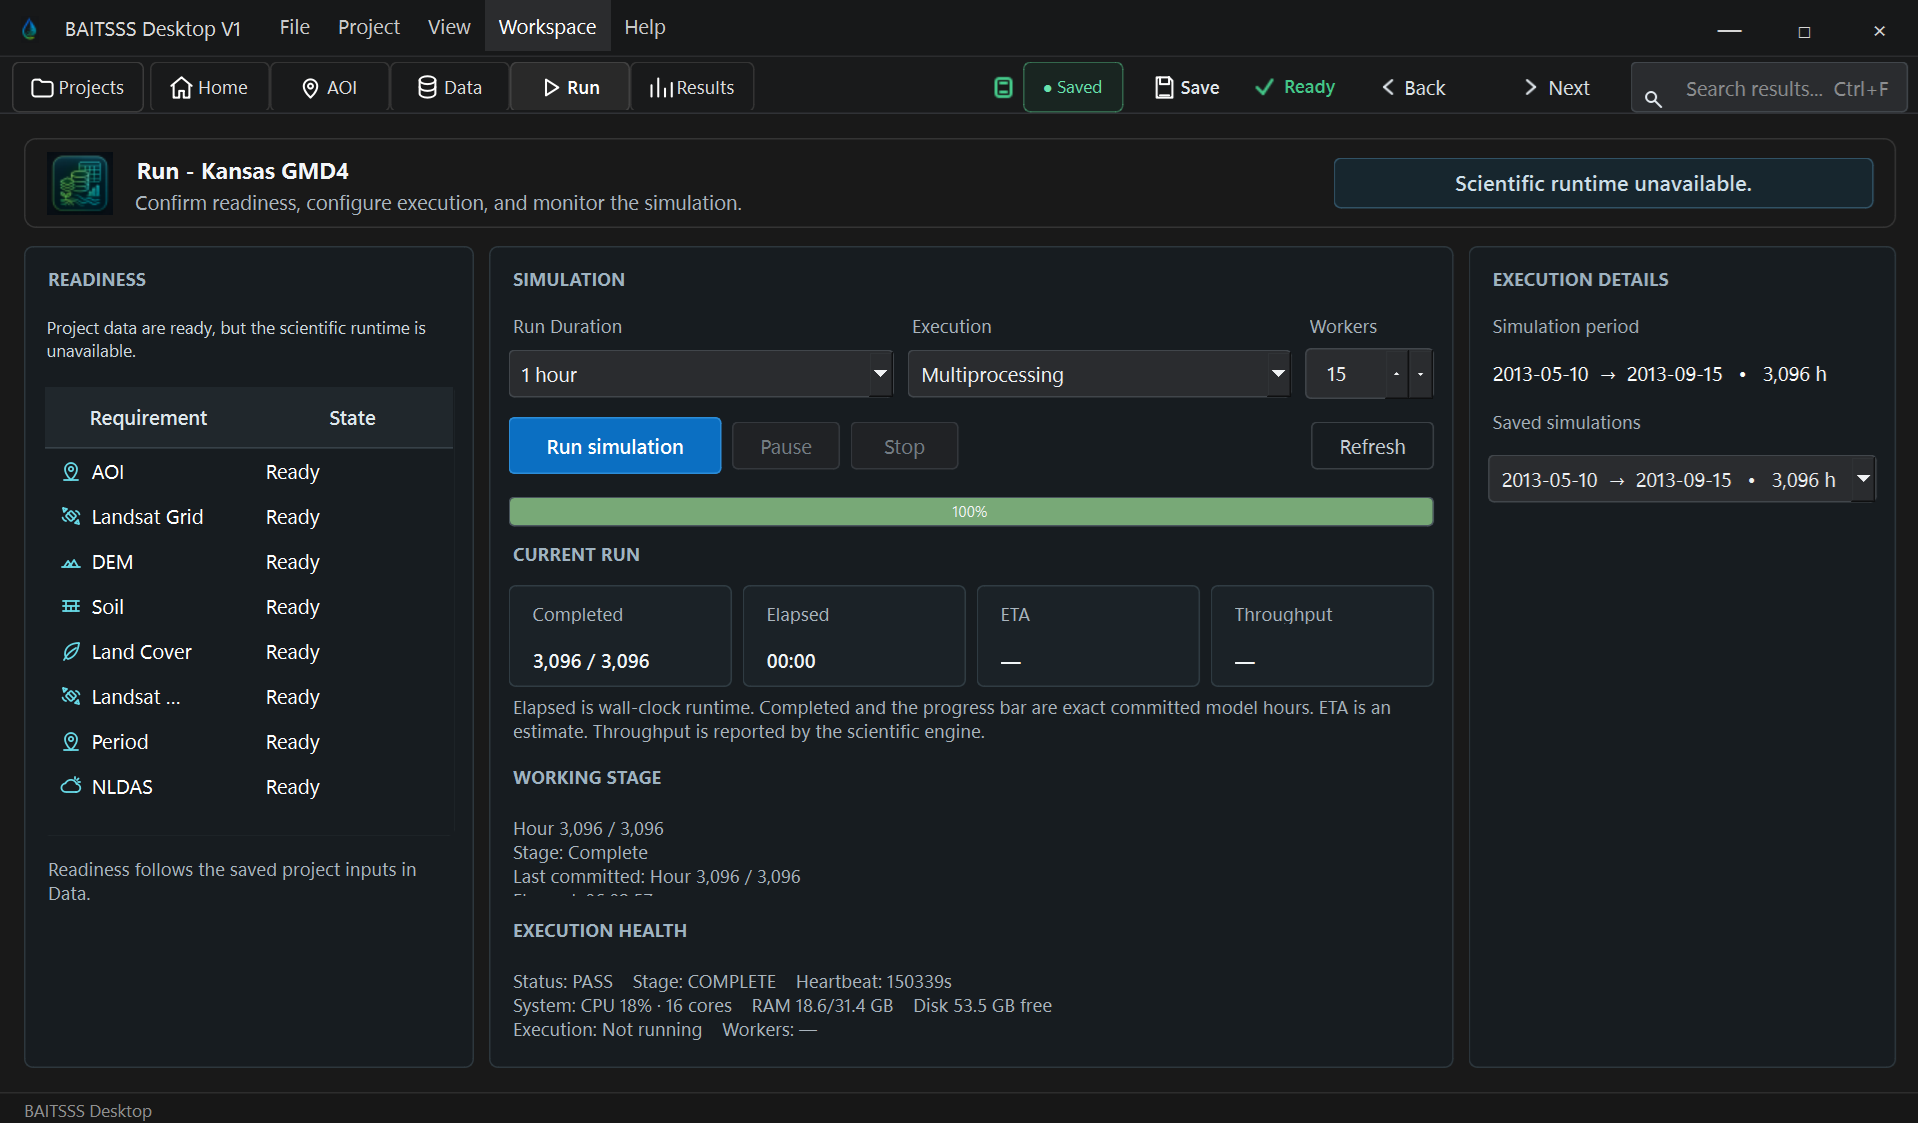
Start the BAITSSS simulation for the selected period. BAITSSS advances the coupled water and energy balance hourly while carrying the model state forward through time.
Check: monitor run progress and confirm the selected project and simulation period before interpreting outputs.
Open Results and examine evapotranspiration, soil water conditions, modeled irrigation behavior, spatial maps, and time series outputs for the selected run.
Check: distinguish modeled irrigation requirement from known or recorded irrigation actually applied in the field.
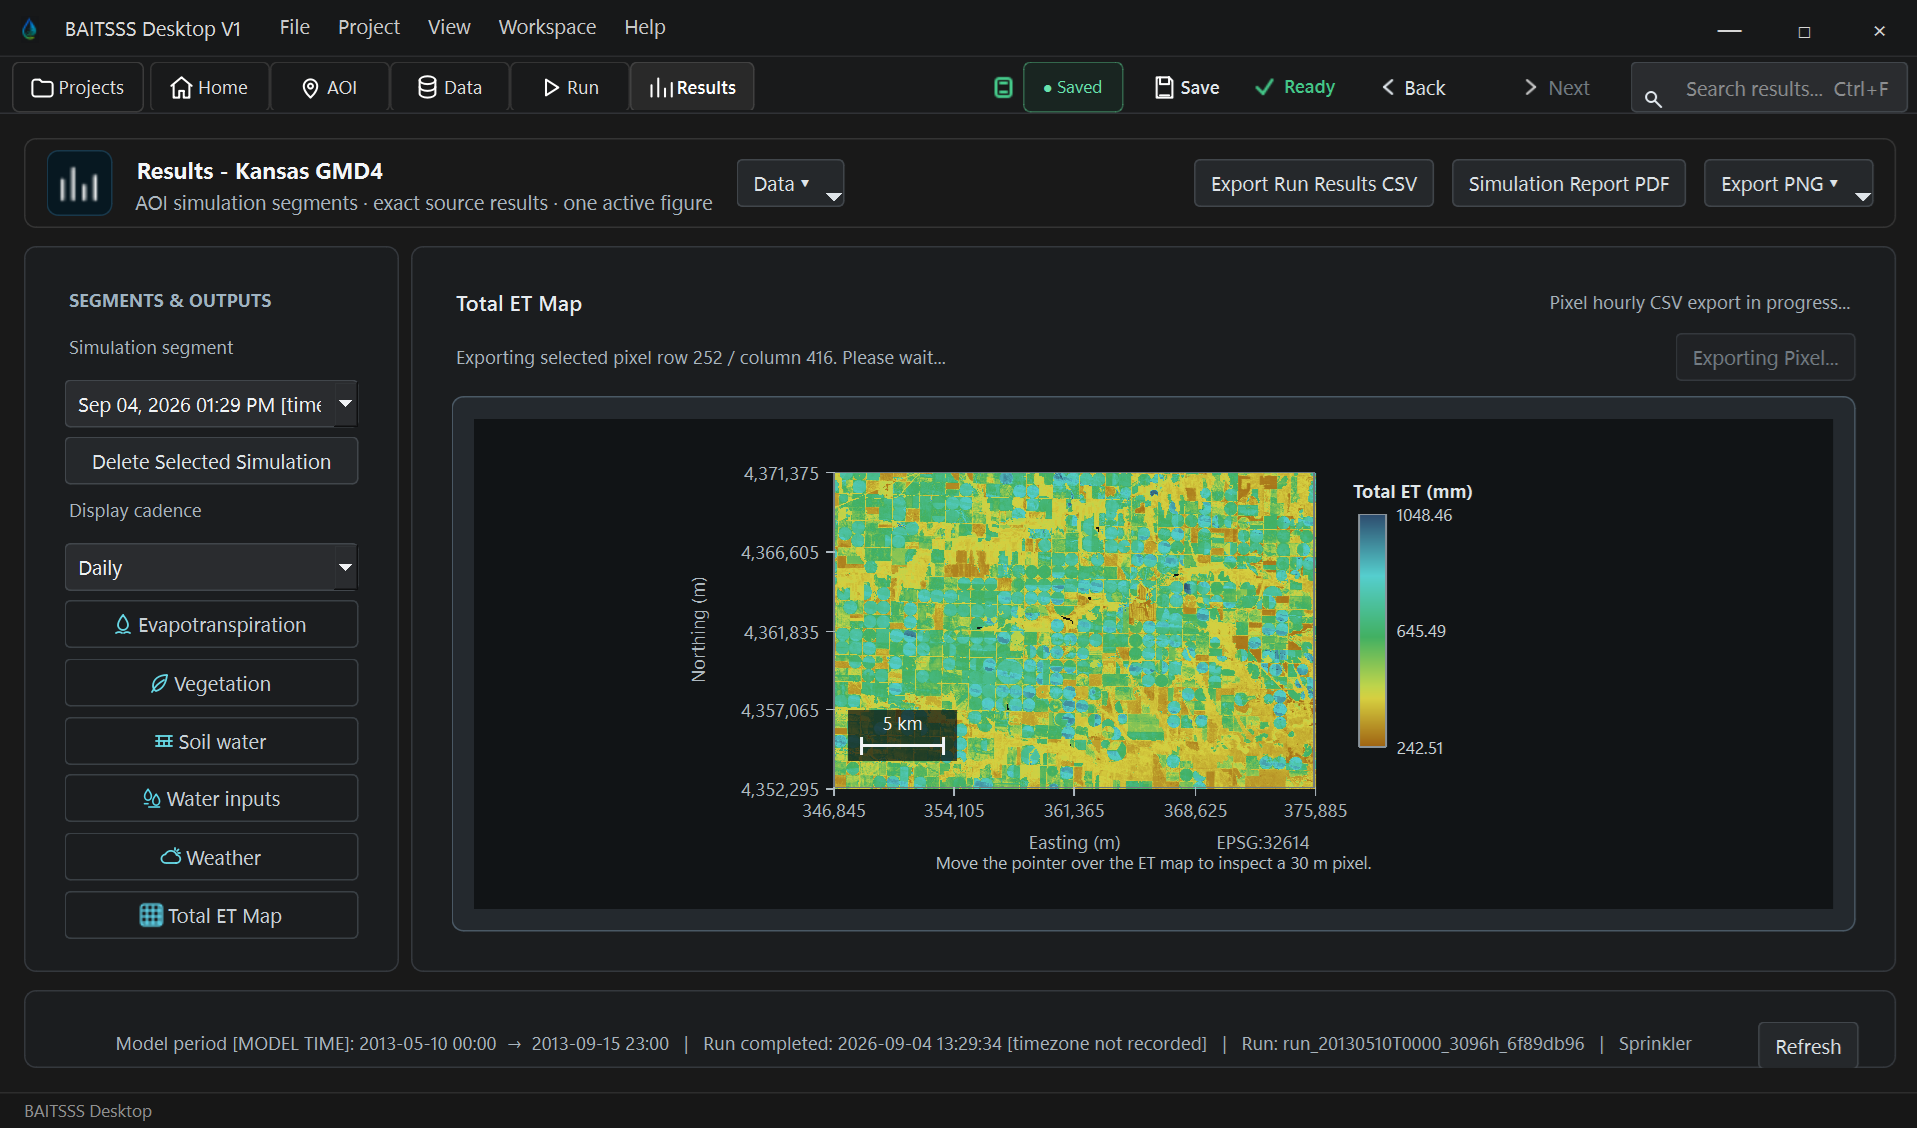
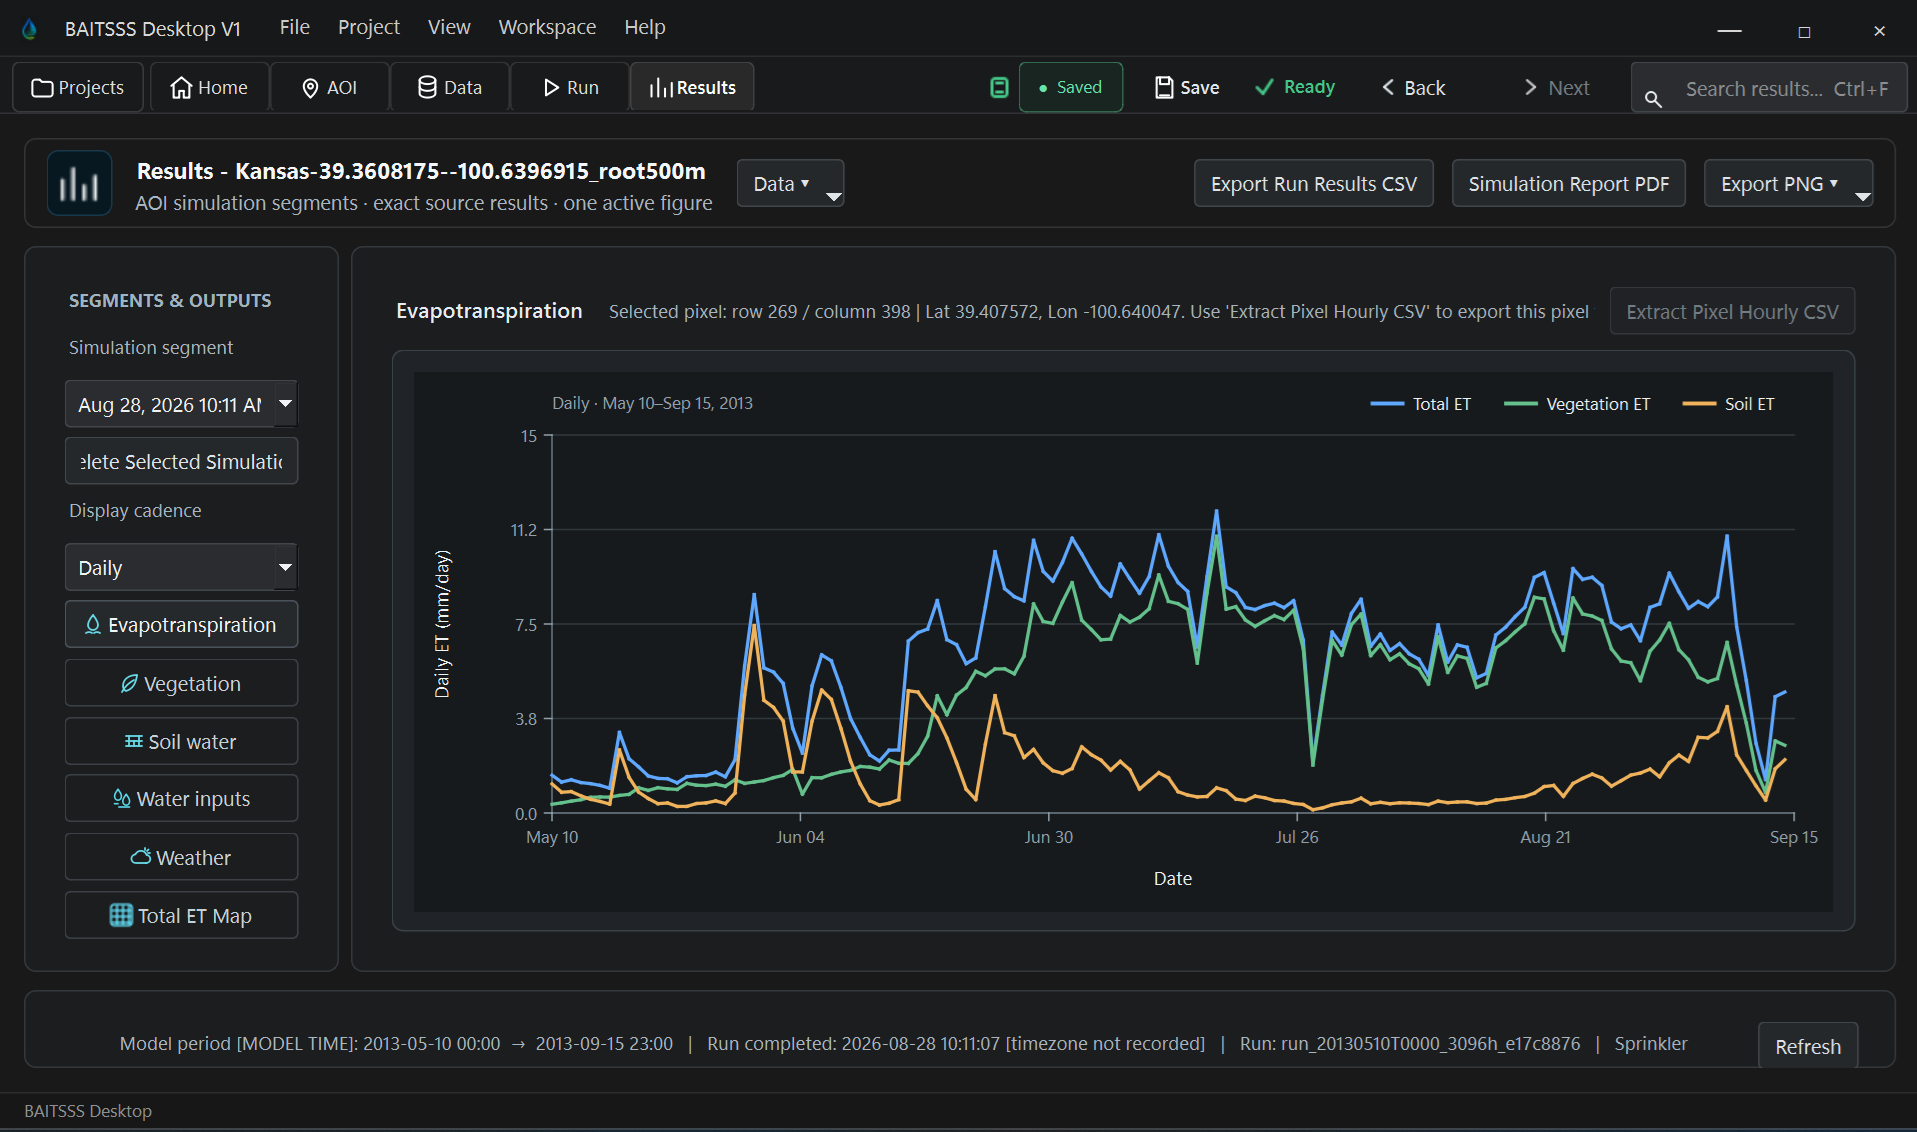
Export the available CSV tables and PNG figures or maps needed for analysis, reporting, teaching, or comparison. Preserve the run information, settings, assumptions, and input provenance with the project.
Check: scientific interpretation should be tied to the exact project, dates, settings, and BAITSSS software version used.
A first run establishes the project and workflow. Subsequent runs can change the simulation period or supported management settings and then compare how the modeled ET, soil water, and irrigation response changes. Use later runs to compare defined periods or supported settings while preserving each run as its own traceable record.